
It is not so easy to use the Power Platform to make a solution for reporting anonymous. If you use a Power App, you will be logged in and just because your name is not registered in the report, people with the right access can still go in and see who made it.
But if you use Microsoft Forms, you can make a form that is anonymous and then save the results. Let me show you how.
First thing first – create a form
Go to https://forms.cloud.microsoft/ and sign in. Choose “Registration among the senarios on the page.
A new tab will open. Here you can select one of the templates or start from scratch. You need to put in the fields that is relevant for you. I put in
- Type of convern
- Description
- Date of the incident (optional)
- Location (optional)

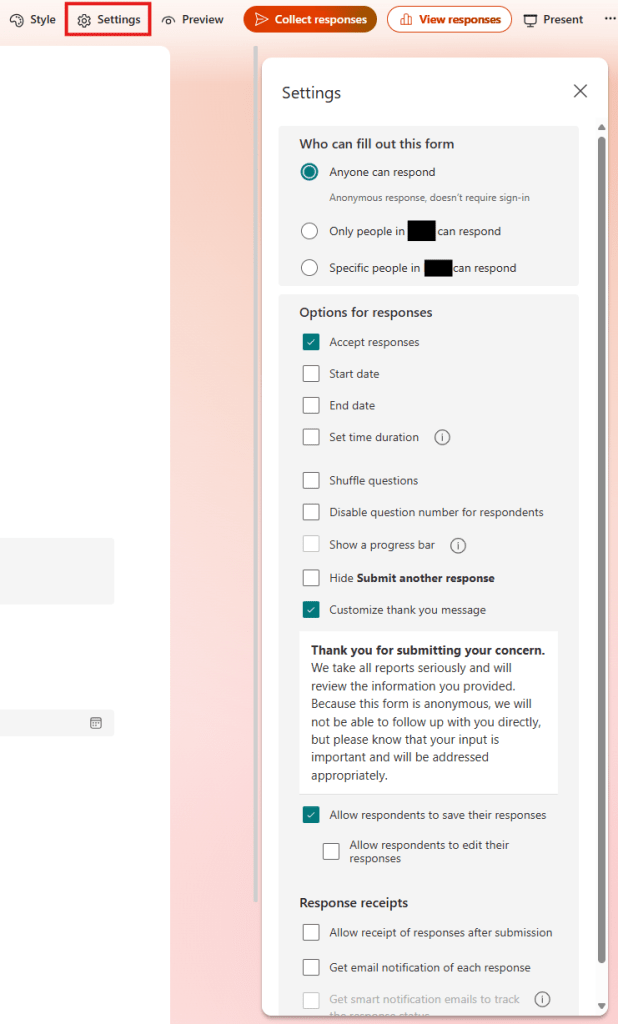
When you are satisfied with you form, click on Settings. The most important thing here is to choice for “Who can fill out this form” to “Anyone can respond.” If you don’t do that, the form is not anonymous. You can also customize your thank you message that shows up when someone has submitted their respons and allow them to save it.
Where should it go?
Now that the form is in place, let’s find out where you want the response to be saved. When you use a flow to save it, you can choose between a lot of different locations. Most common is maybe a Microsoft list that is part of a team that only the relevant people have access to. Dataverse is another possibility and you can of course save it to a file if you like that. In this senario, I will use a Microsoft List that belongs to a team in Teams.
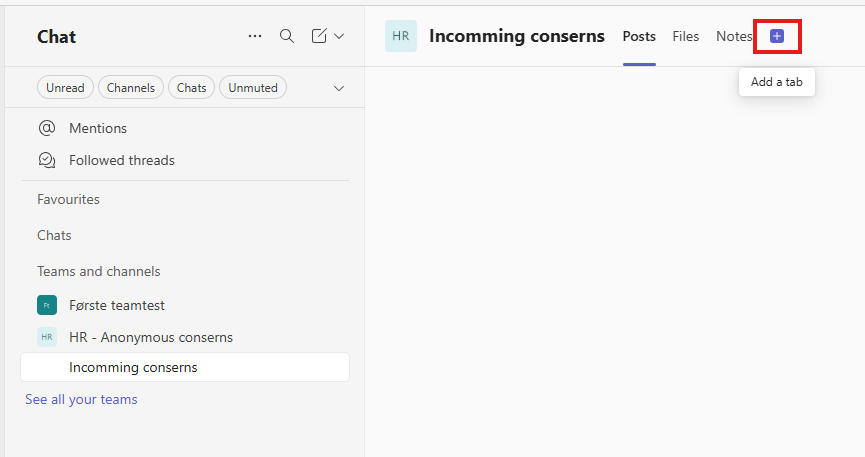
You need to create your team. Go to the team, click on the channel you want to use and click on the plus sign on the tab.
On the pop-up, choose “More apps” if you don’t see the List app. When you see it – click on it.
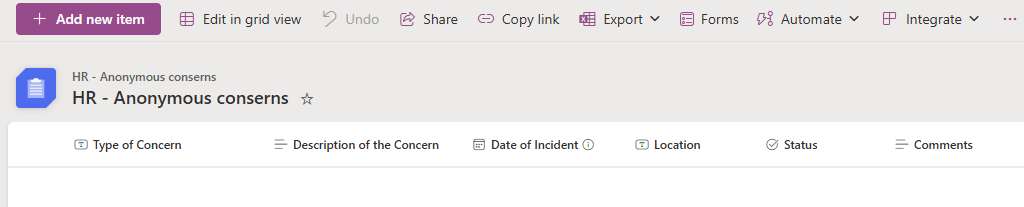
You have now gotten yourself a new tab on the top. When the tab is chosen, click on “New List” and create a list with an appropriate name. I want to name my “Title” column the same as my first question in the form, so I click on the column – Column settings – Rename. You then get a pop-up box where you can put in the new name for the column.

Add columns to match you form and maybe add a couple of columns for case management. I have added two. One choice column for the Status (New, ongoing, closed) and one large text column for comments.
And now to the most fun part – the flow!
We now have the source of data and the end point. Let’s build the automation that makes the solution complete.
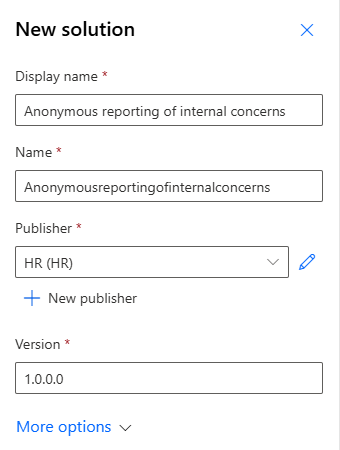
Go to https://make.powerautomate.com and select the environment you want to create your solution in. Go into “Solutions” in the right menu and create a new solution. Here is what I chose for my solution.
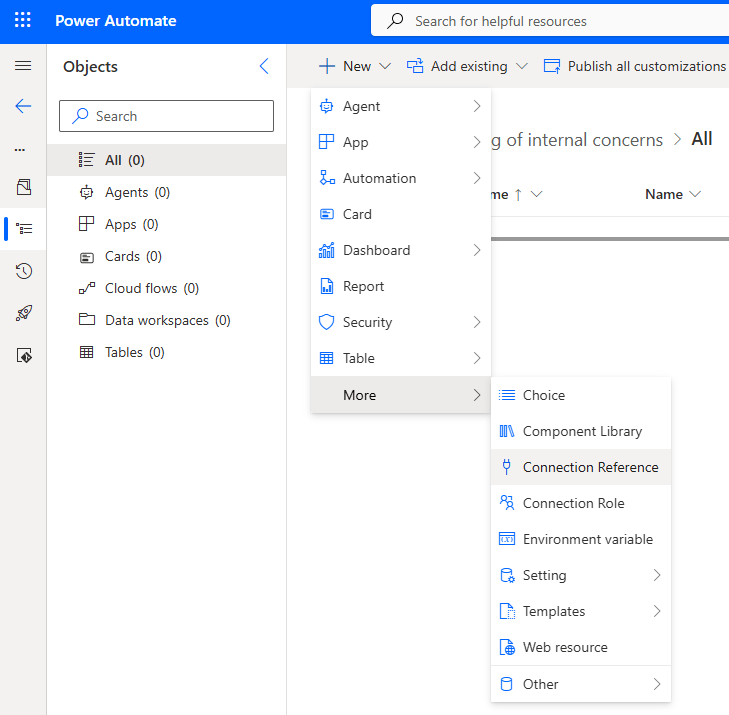
Connection referances
Before creating the flow, I like to create the connection references we need. This way, I can reuse references I have created before or create new once with a fitting name. If you don’t do this, Power Automate will create a connection reference for you, and it will have a horrible name. You can change the displayname, but not he
I start by adding the connection reference to Forms. I like to add what user the connection reference is connected to into the name, so that it is easier to find and reuse later.
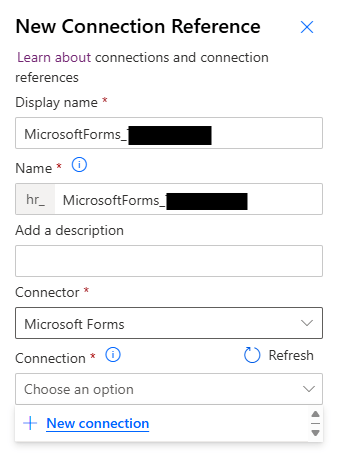
If you don’t have a connection to Forms yet, click on “New connection” and add it or chose an existing one if you have. If you add a new one, you go through the steps and then click on “Refresh” – it will now be in the list.
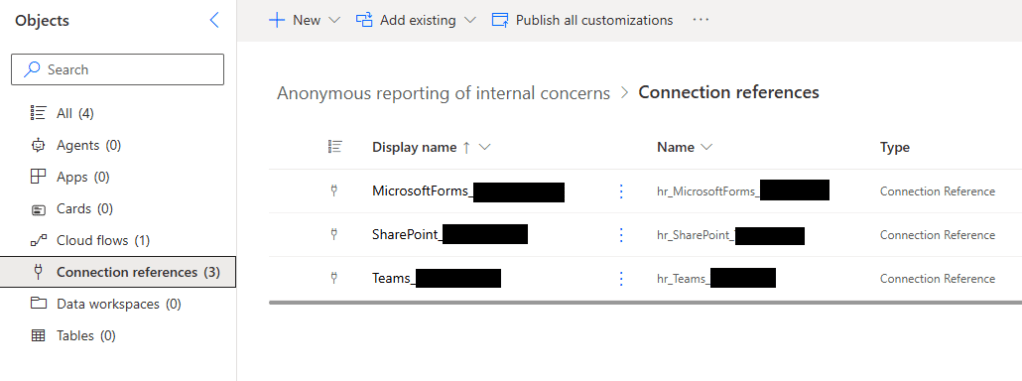
Do this for SharePoint and Teams too and you will have a list that looks something like this
Creating the flow
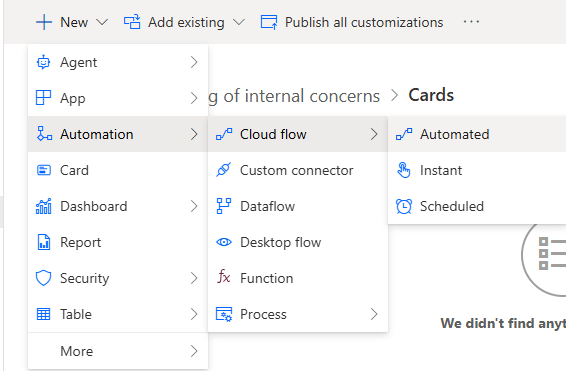
Choose an automated flow from the list and call it a descriptive name.
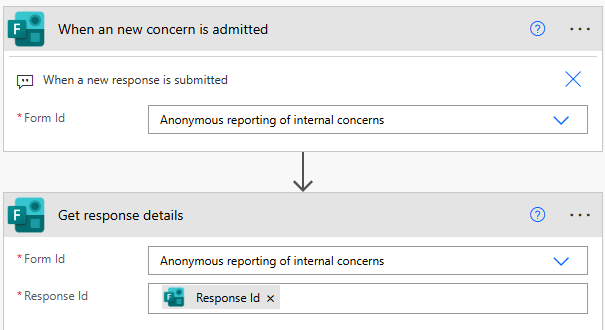
The trigger action you should use is “When a new response is submitted from Microsoft Forms.

The first action you must add after you trigger, is the “Get response details”. If you don’t have that, you can’t get the information out of your form.
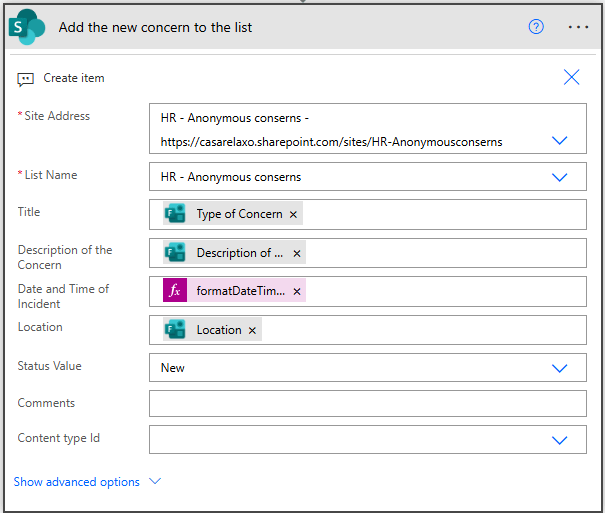
Next thing – save the form answers. We are saving it to a SharePoint (Microsoft) list, så we choose SharePoint action “Create item”.
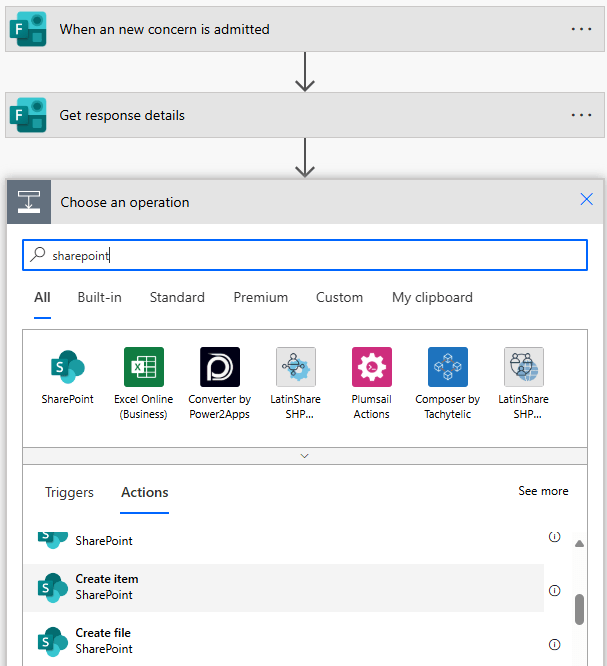
Fill out you fields from the dynamic response from the action “Get response details”.

If you have chosen to add a date field, you can’t insert it directly, because the types don’t match. What you need to do, is to add the dynamic field for the date into another field in the action. Then, click the three dots on the top write an chose “Peek code”. In my example, I put the date field in the Location field.
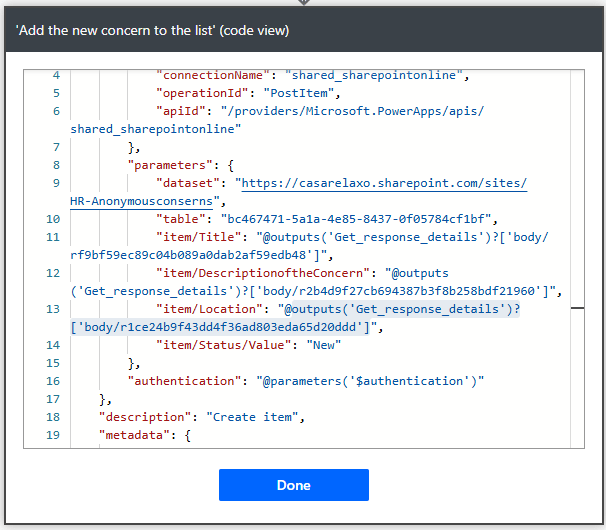
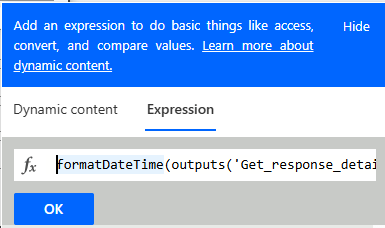
I copy the code showed in blue, format it to get it shown the way I want and put it into the “Expression” pop-up box for the date field. My code looks like this
formatDateTime(outputs(‘Get_response_details’)?[‘body/r1ce24b9f43dd4f36ad803eda65d20ddd’], ‘dd.MM.YYYY TT:mm’)
Fill out the rest of the form and click “Save”.
Click on “Test” up in the right corner
Choose “Manual”
Click on the down to the right
Go to your form and fill it out. Come back to the flow and see if it works like expected.
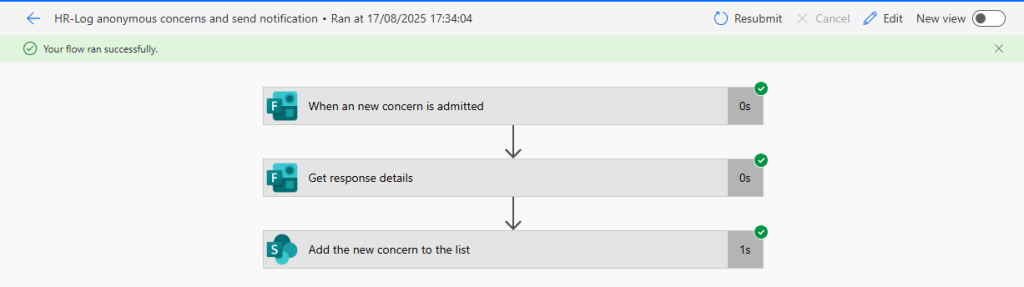
Check your list to see if a new row is added.

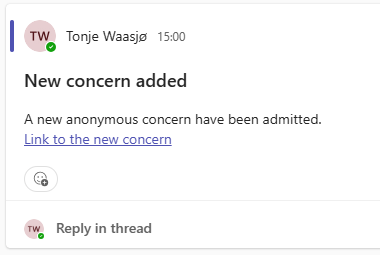
If you want, you can add an action to let the HR team know that a new concern has been made. You then add the action “Post a message in a chat or channel”, or choose another way of letting them know.
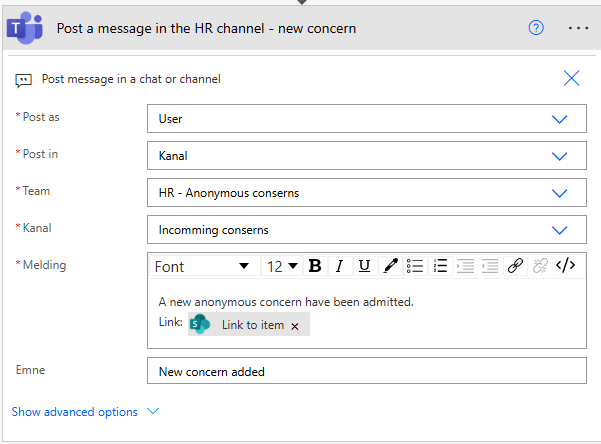
If you want to make the link into a functional link, you have to click on the icon </> to enter the code mode of the message and then paste the “Link to item” into the a-tag.

Run the flow again and you will receive a message in you Team channel
I hope this is useful for some people – and please let me know if you had any problems =)

Leave a comment